During the installation, when select particular edition of Windows 11 and click next button an error message appears “This PC can’t run Windows 11” with full message. “This PC doesn’t meet minimum system requirements to install this version of Windows.” As this error message gives no exact information about what minimum system requirement device lack and triggers the issue.
How to Fix “This PC Can’t Run Windows 11” Error in Hyper V
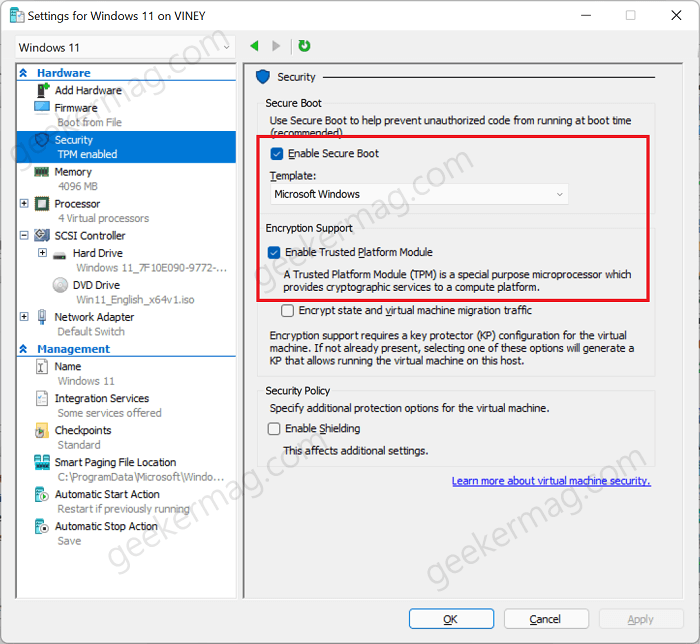
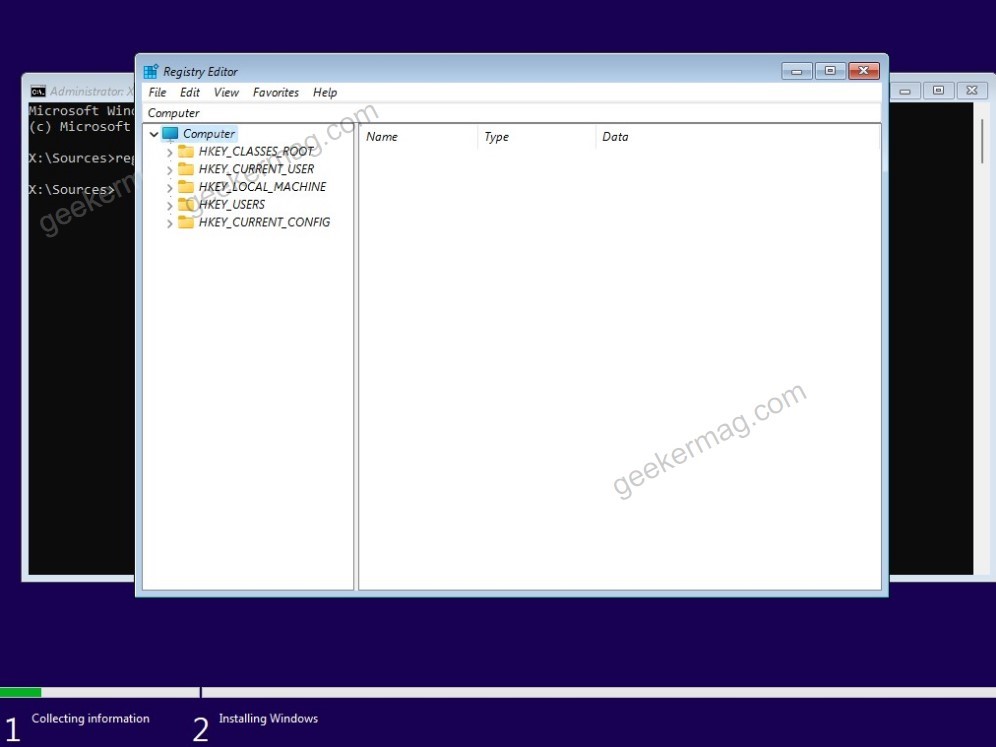
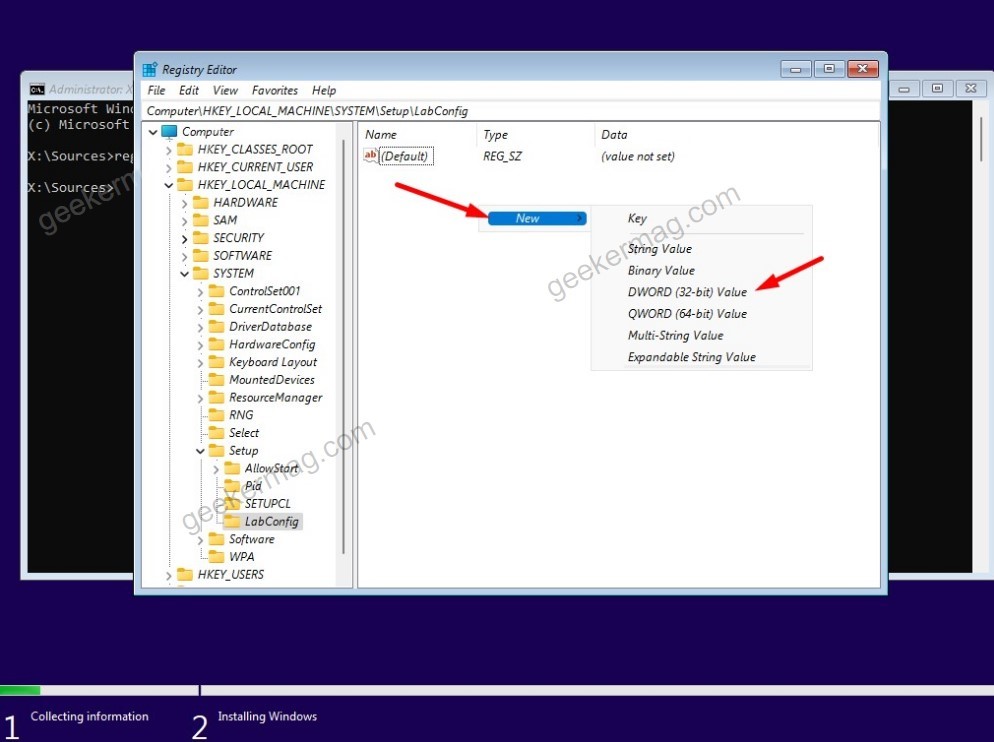
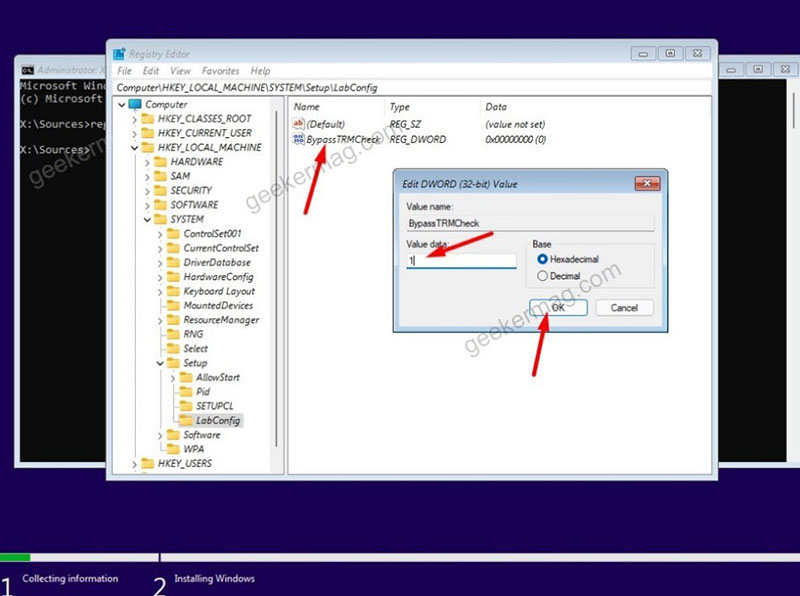
Lots of users use Hyper V Manager to run Windows 11 virtually on their device. After doing a deep research I figure out that lots of users are seeing the same error message. If you made up to this blog post, then you’re one out of them. Fortunately, it is possible to fix this error and complete the installation of Windows 11 on Hyper-V. Here’s how you can do that: In Hyper V manager, you need to select and right-click on the particular virtual machine and select Settings. In the Settings window, you need to switch to Security tab and then on the right-side make sure that the box for Enable Secure boot and Enable Trusted Platform Machine is checked. If not, check boxes for both the options, click Apply and OK. After doing this check if this helps in fixing the issue. In case, screen with error message still appears, then again launch Virtual machine settings and this time switch to Processor tab. On the right side, make sure that “Number of virtual processor” is set to at least 2. After that Apply and OK. According to various reports changing virtual processor to 2 or above fix the issue. If nothing helps in fixing the issue so far, then try a registry workaround. Here’s what you need to do: On Windows 11 Setup screen, you need to press the Shift + F10 key to open the command prompt window. Here, you need to type regedit and hit enter. This will launch Registry Editor. In the registry editor, go to HKEY_LOCAL_MACHINE\SYSTEM\Setup In the Setup folder, create a new key and name it “LabConfig“. In the “LabConfig“, right-click on the blank area in the right sidebar > select key > DWORD (32-bit) Value and name it “BypassTPMCheck” and set its Value data 1. Following same procedure, create two more DWORD Values named “BypassSecureBootCheck” and “BypassRAMCheck” and set Value data 1. Close the command prompt and try again and try to install Windows 11. In case, this also fails to fix the issue, then I personally suggest you to delete that particular virtual machine and quick create virtual machine again with default settings. Once of the tip suggested in this blog post will fix the “This PC Can’t Run Windows 11” Error in Hyper V and let you install Windows 11. Why don’t you give it a try and let us know if this fix the issue or not. If you face any other issue while installing Windows 11 on Hyper V, then feel free to ask in the comments.