Windows 11 comes with a memory dump feature that allows users to find required information regarding the crash. By default, automatic memory dump is enabled in Windows 11. Automatic memory dump automatically configure the file size to capture the BSOD crash. You can head over to “C:\Windows”, here you will find MEMORY.DMP“. If you can’t find a BSOD crash logs in the memory dump created with an automatic memory dump, then you have to manually enable the complete memory dump feature to diagnose the issue.
How to Capture Windows 11 BSOD Dump File
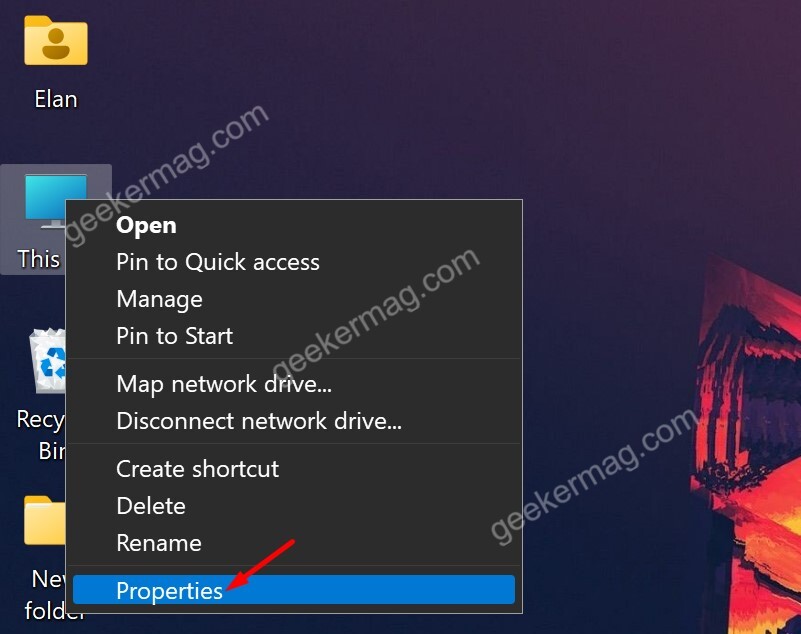
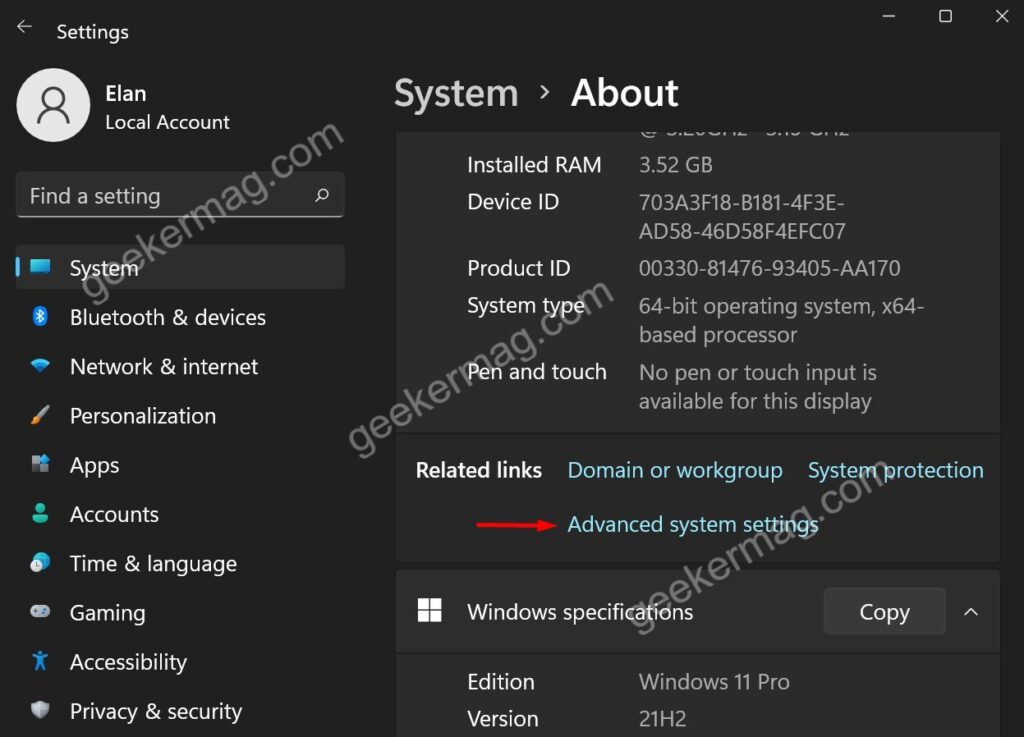
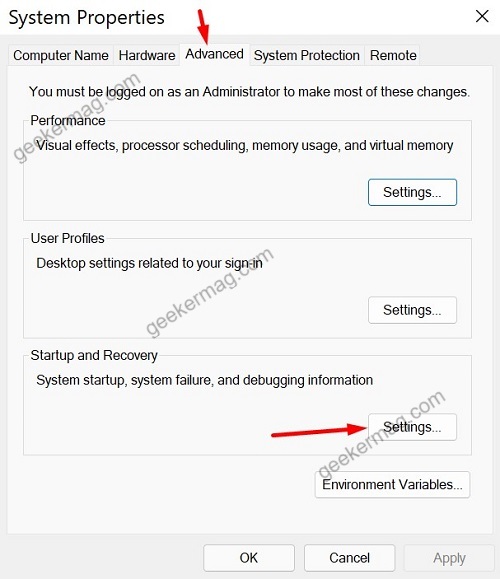
In this guide, you will learn how to create a complete memory dump file to capture Windows 11 BSOD crashes. Before you proceed, we would like to tell you that to capture BSOD dump file, you must be logged on as an administrator. On the desktop, right-click on This PC and select properties. This will open System information. In the about section, scroll down and click on Advanced System Settings. In System Properties window, select Advanced tab. And then, under Startup and Recovery section click on Settings button. Here find Write debugging information and choose the Complete memory dump option from the drop-down menu. We would like to tell you that a small memory dump contains only a little information about the crash. On the other hand, a complete memory dump file contains all information regarding the crash, hardware, and your RAM. So if you want to find a detailed log about your memory then choose complete memory dump. Finally, reboot your Windows 11 PC to apply the changes. Now whenever your Windows 11 PC crashes, the error will save into the log. You can check the log to find a reason for the BSOD screen crash.