Quick Way to Check Your Mac’s Storage
Without passing the file on verdict even as Apple is still fine-tuning macOS 13, the revamped System Settings (Formerly System Preferences) has looked impressive to me. Both in terms of ease of use and intuitiveness, the app seems to be up to the mark. Not to mention, the revamped app also feels far snappier than ever before. Couple that with the familiar iOS/iPadOS-like interface and it seems to have covered most bases to provide a seamless experience. So, even if you use macOS 13 for the first time, you may not have to go through a steep learning curve which is yet another plus.
View Mac’s Storage in macOS 13 Ventura
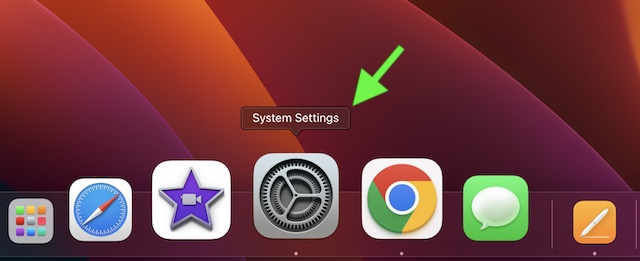
- On your Mac running macOS 13 or later, launch the System Settings app. Alternatively, click on the Apple menu located at the top left corner of the screen and choose System Settings in the contextual menu.
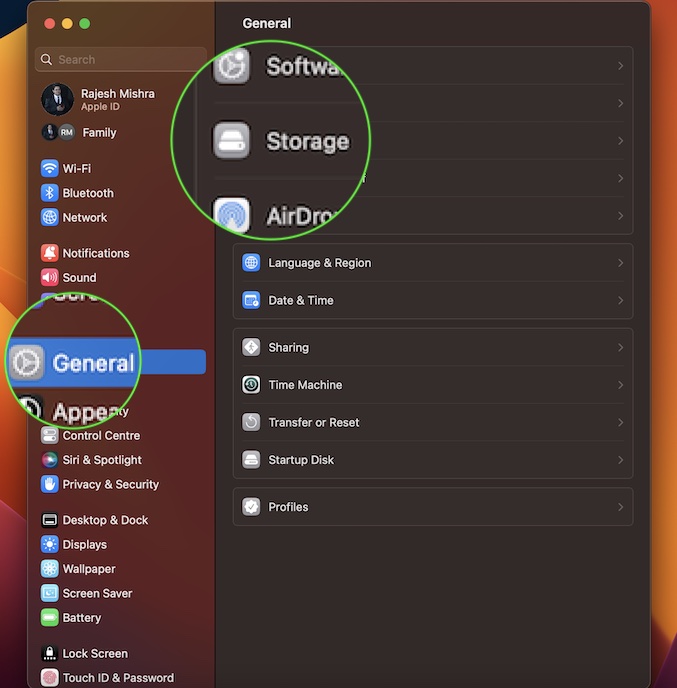
- Click on General to proceed.
- Next, click on Storage.
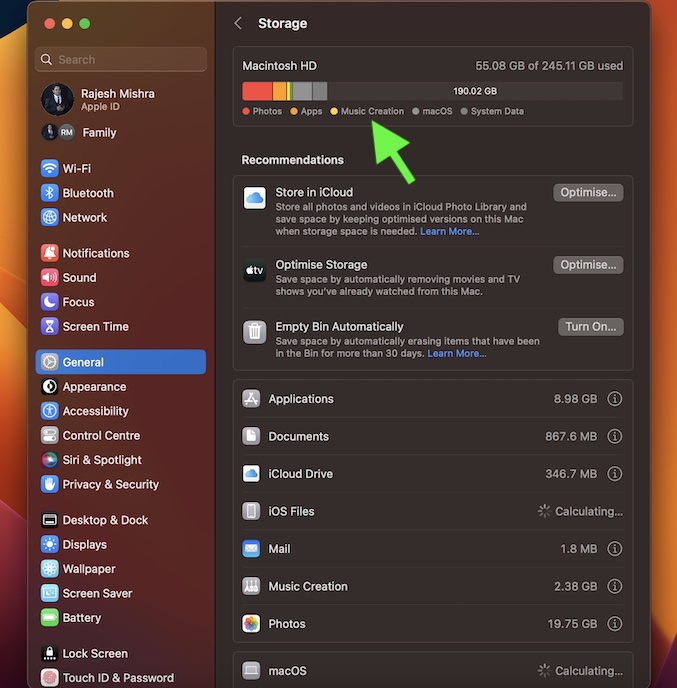
- Now, allow the storage bar at the top to calculate and show exactly how much space has been used and how much space is still available. Note that the categories shown consist of various files such as photos, apps, system data, and more on your Mac. It’s worth pointing out that if your Mac has more than one user account, the categories displayed are for the user who’s logged in.
- Do note that on this very screen, you should see a list of apps as well as services and the total account of space each one has consumed. It will provide you with a clear idea about which one has been hacked the most storage. Thus, wiping out unnecessary items will become a bit hassle-free for you. Under the recommendations section, you should see the three most important storage management options:
Store in iCloud: It allows you to store all your photos and videos in the iCloud Photo Library and save space by keeping the optimized versions on this Mac. If you have enough iCloud storage, take advantage of this feature to clear a lot of space on your Mac by storing the images in the cloud. Optimize Storage: It lets you save space by automatically removing movies and TV shows you have already watched from this Mac. If you no longer want the already watched flicks to take up a ton of precious storage on your device, get the most out of this feature to optimize your Mac’s storage. Empty Bin Automatically: You can use this handy storage cleaner to automatically erase items that have been in the bin for more than 30 days.
Now, choose the preferred option to clean up your Mac’s storage.
How to Check Storage on Mac in macOS 12 Monterey or Earlier
- Click on the Apple menu at the top left corner of the screen and choose About This Mac.
- Now, click on the Storage tab.
- Finally, you would be presented with a neat storage bar showing a breakdown of the total consumed and available storage. If you want to manage your Mac’s storage, click on the Manage tab and then do the needful.
Keep a Track of Your Mac’s Storage With Ease
So, that’s how you can monitor the storage on your Mac. Even though Mac boasts robust hardware and fully optimized software, it is not immune to issues. Problems like crashing, black screen of death, and sluggishness do not take long to take over if you fail to clean up the Mac from time to time. If you find it a bit tedious to get rid of the redundant files and useless apps, why not go for powerful Mac cleaners? For this exact purpose, I would recommend you check out a couple of highly rated Mac cleaners namely CleanMyMac X and MacKeeper. They are designed to quickly scan the entire system and show you all the storage-hogging items. After that, you can review each item and wipe out the ones that are no longer needed. Pretty handy, isn’t it?