Now it doesn’t mean you won’t be able to use Windows 11 with a local account. You can still use it, but with limitations. For example, you won’t be able to install apps from Microsoft Store, the Find my device feature won’t be useful for you, and moreover, you won’t be able to sync data using OneDrive. In case, you don’t mind using Windows 11 without these apps and features, then you can use Windows 11 with a local account without any problem. Creating a local user account in Windows 11 is super easy. In case, you don’t know how to do it, then this article will help you with it. As we’re going to share step-by-step instructions on how to do that:
Create a Local User Account From The Settings
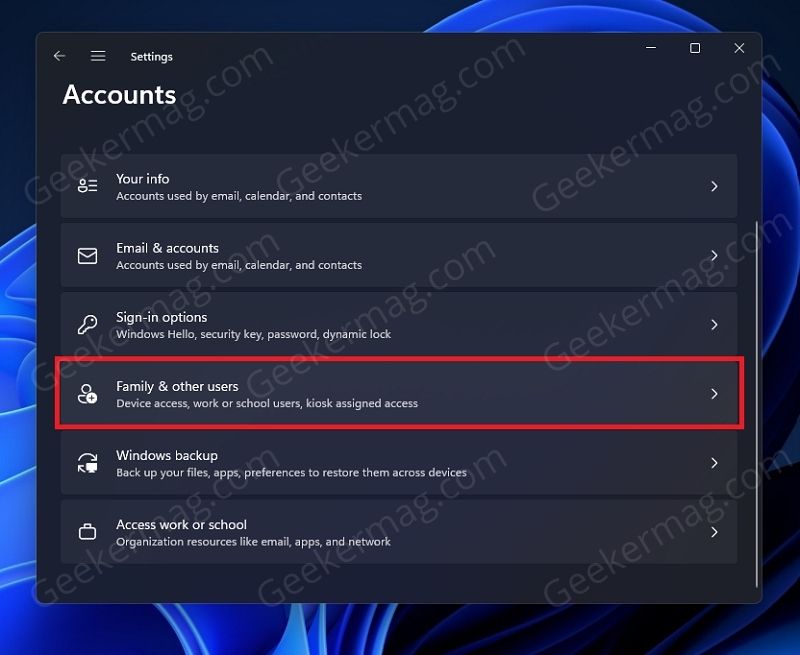
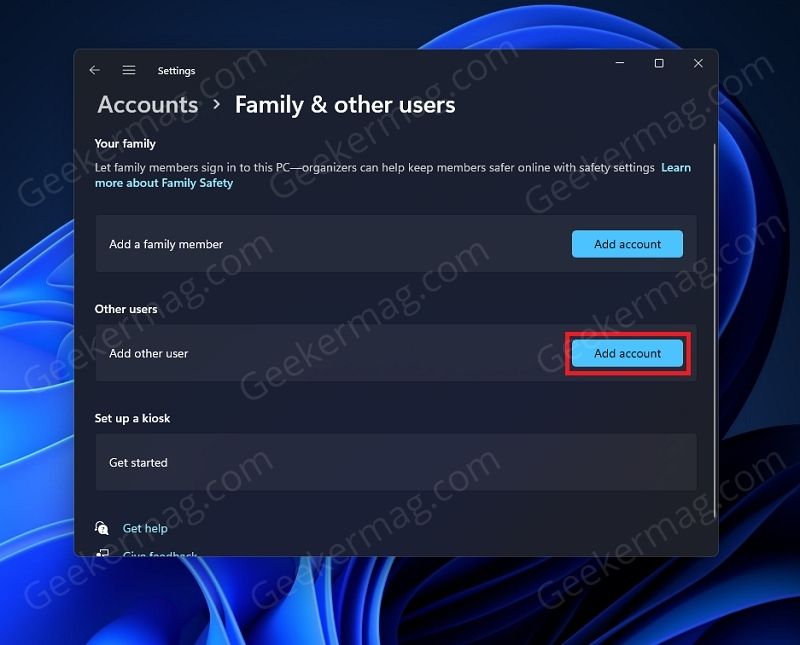
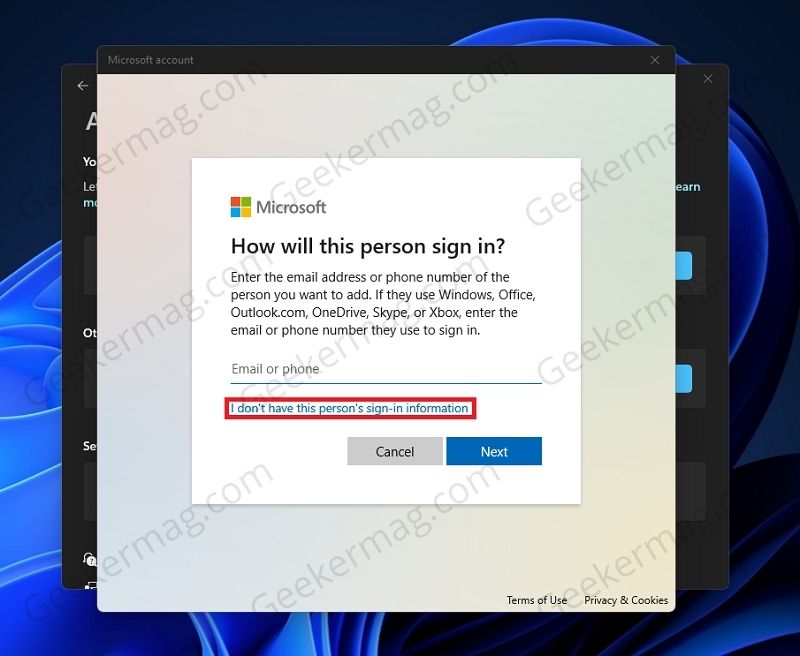
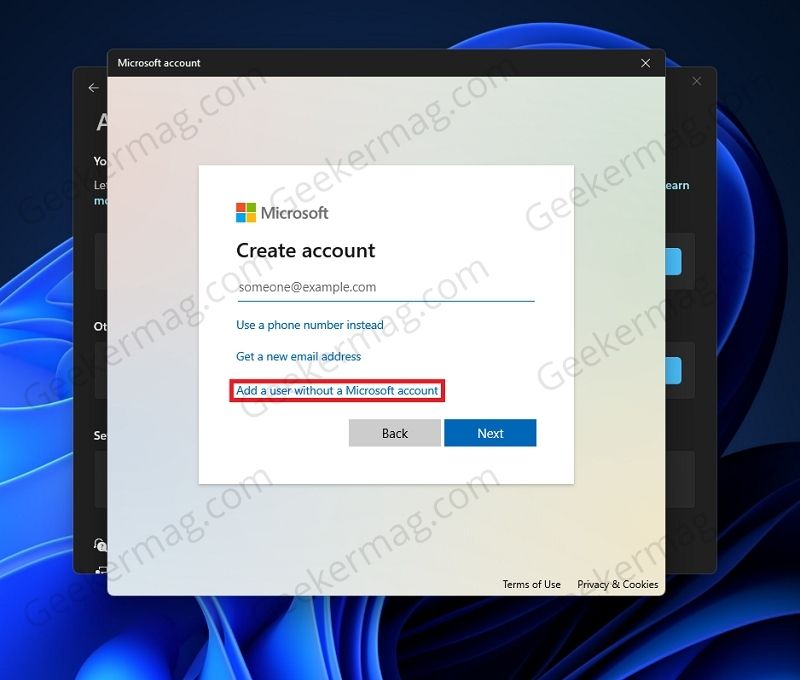
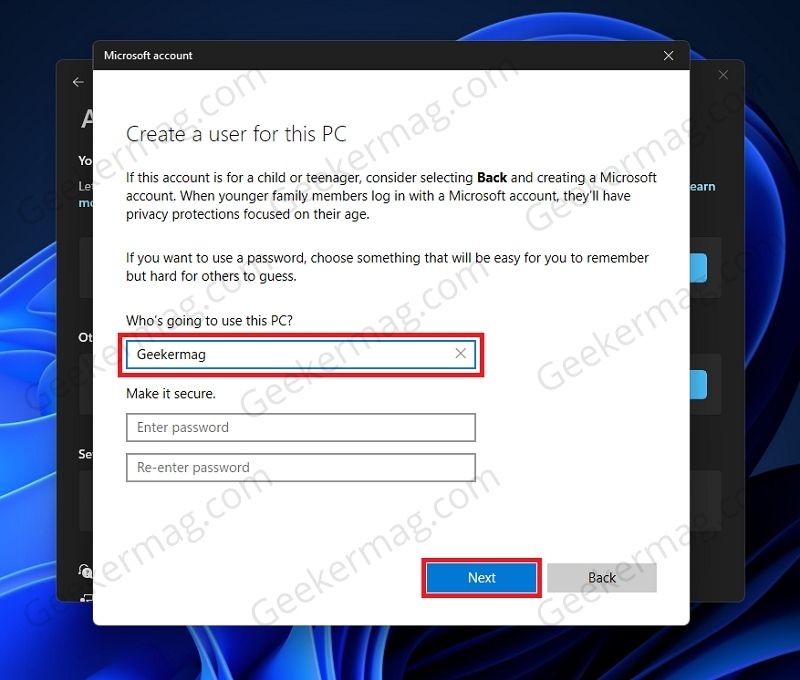
Press the Windows + I key combo to open the Settings app. In the Settings app, head to the Accounts section from the left sidebar. Now on the right side in the Account section, click on the Family and other users option. On the new window that opens up, click on Add account button that you will find under the Other users section. You will be headed to the sign-in page from where you can sign in to your Microsoft account on Windows 11. Here, you will be asked to enter the email or phone number of the person who will also be using your PC. Instead of entering the email or the phone number, click on the I don’t have this person’s sign-in information option. On the next screen, you will be asked to create an account. You will have a few other options, including signing up using your phone number, getting a new email address, or signing in without Microsoft Account. Simply click on the Add a user without a Microsoft account option. Next, you will be asked to enter the name of the person who will be using your PC. In the given field enter the name of the account. If you want to make the local account secure, you can also set the password, however, it is optional. After you are done with entering the username and the password, click on Next. Once done, you will have successfully created the local account on Windows 11. Note- If you are not connected to a network, then the process will be much easier, and you will not have to go through the hassle of the above process. When you click on Add account, you will be asked to enter the details for the local account. In case, you’re using Windows 11 Home edition, then officially Microsoft won’t allow users to install Windows11 with a Microsoft account. You can check our post on how to do that: How to Install Windows 11 Home without Microsoft Account
How to Sign Into a Local Account In Windows 11
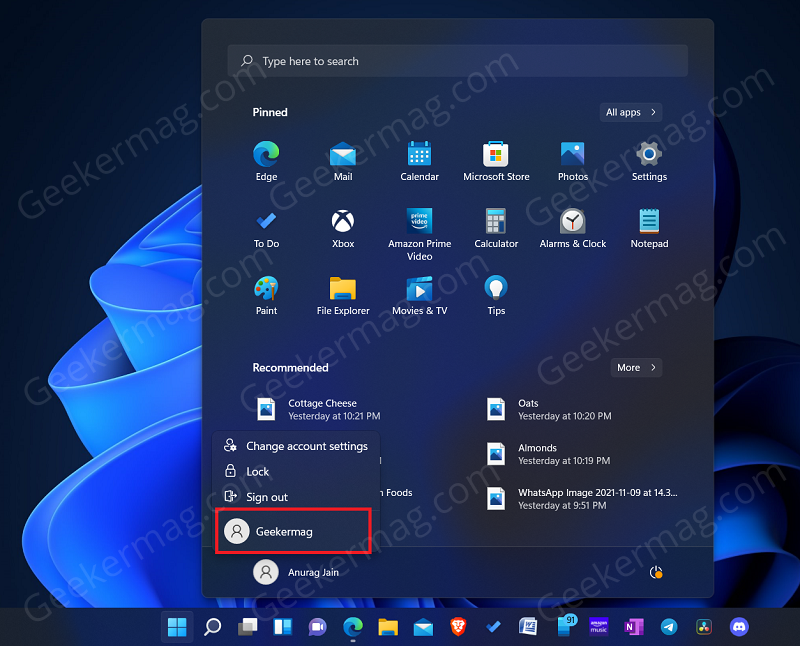
There are generally two ways to sign in to a local account that you have created. You can sign in from the start menu or from the login screen. Method 1: Click on the Start Menu icon on the taskbar. Here click on the Account icon, and then click on the name of the account you have created. You will be logged into the new local user account. Method 2: You can either sign in from the login screen. When you power on your computer, you will see a login screen. From here, click on the local user account you created, and you will be logged into it.
Make Local Account Administrator in Windows 11
When you add a new account to Windows 11 PC, it will be a standard account with default settings. In case, you want to make it administrator account, then here’s how you can do that:
Launch Settings app by pressing WIN + I key combination.
Select Account > Family & other users. Here, locate your local account listed under Other users section.
Click on the down arrow to unlock more options, click on Change account type button next to Account options.
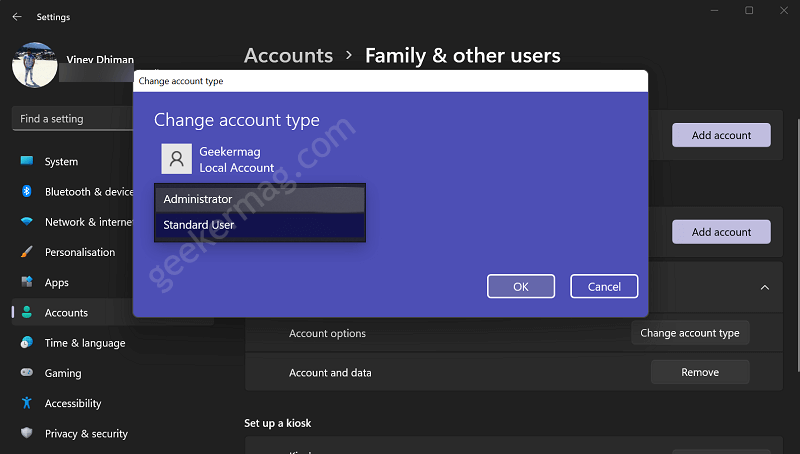
A new window will open, here using Change account type drop-down, select Administrator and then click OK button.
How to Remove Local account from Windows 11 PC
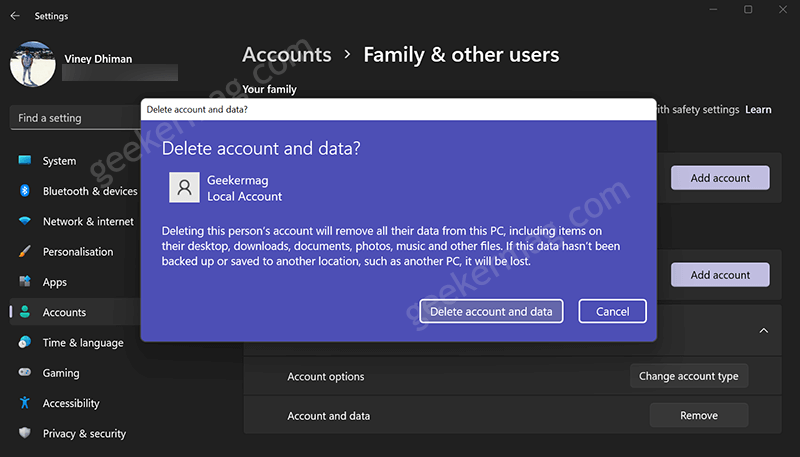
At any point, you want to remove user account with Microsoft account in Windows 11, then here’s how you can do that: Launch Settings app by pressing WIN + I key combination. Select Account > Family & other users. Here, locate your local account listed under Other users section. Click on the down arrow to unlock more options, click on Remove button. A dialog box will appear asking for the confirmation, click Delete account and data button. Following the above steps, you will be able to create a local account on Windows 11. Having a local account has its advantages and disadvantages, and you should know that before you create a local account on Windows 11.